I grew up in 80's and 90's. Having a remote controlled car in that time was a dream of all boys and also not available for most of them. Those who have it was king of neighbourhood. I was also dreaming about it and after many years I made it come true. Of course, since a few years you can buy such toy in shops but I wouldn't be myself if just go and buy one. The biggest satisfaction will give you if you use your skills and build it by yourself. That is why I got my own right now.
Advantage of building from scratch is ability creating custom model. In my case, main idea rule was universality. I managed to build a device that can be connected to any toy with motors (tank, boat, car or submarine) and control it. All models having this receiver can be controlled by this single transmitter.
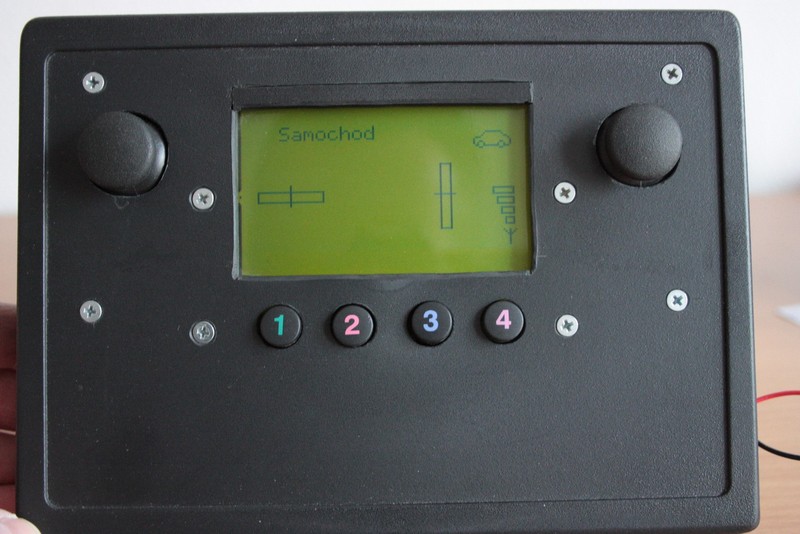
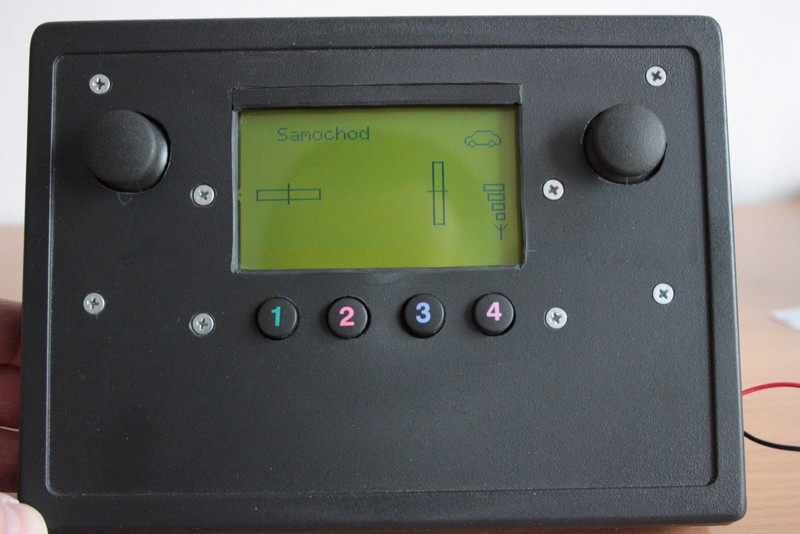
Transmitter
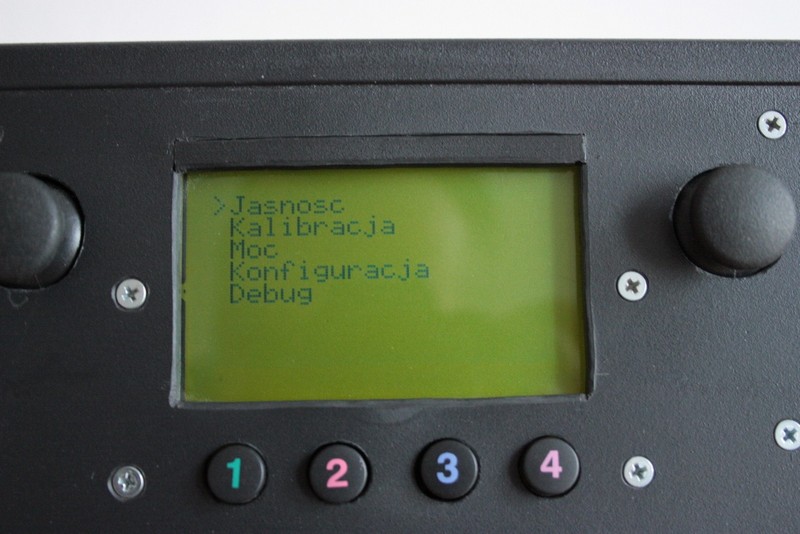
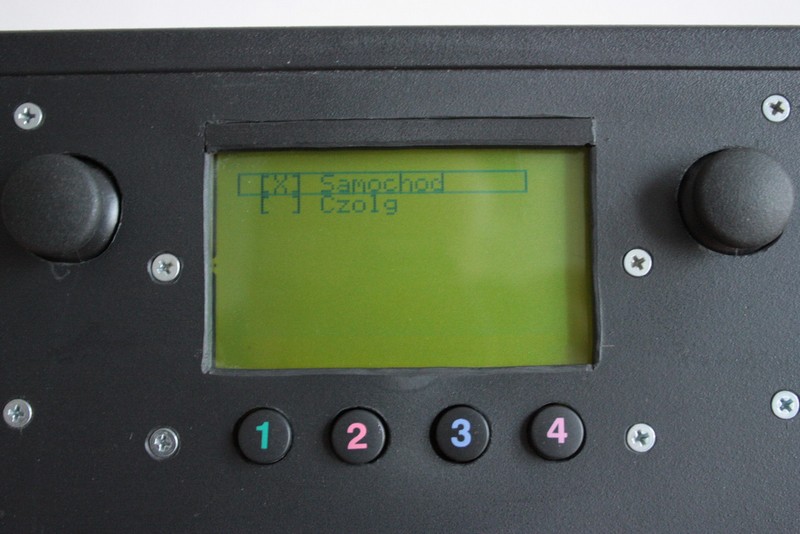
This is two analog joysticks from simple, cheap pad and graphic LCD LCD PG12864LRU-ORA-H. Buttons taken from this same pad were used to move around menu. Features of the device:
- brightness control
- settings stored in eeprom chip. To reduce effect of saving all data always in the same area I implemented algorithm of moving data with pointer to it under first address.
- joystick sensitivity calibration
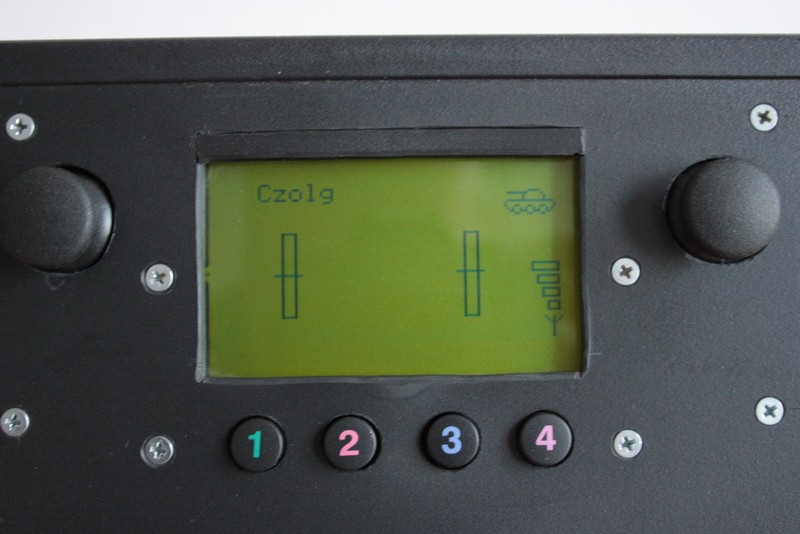
- transmitter power control in four degree scale
- modes switch: tank (both joysticks forward and backward), car (one joystick control left-right, second forward-backward)
In a future I'm going to add:
- frequency channel select. This will allow to control multiple receivers/models from one transmitter.
- add ico either battery or power supply
- (if possible) monitoring battery level in receiver
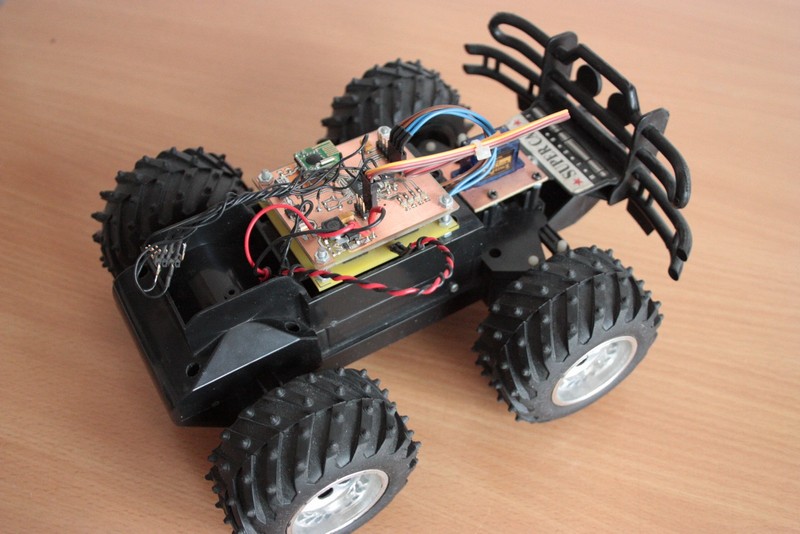
Receiver
In first version I used PIC18f452, but after many strange problems I decided to use old, well known AVR (ATmega32 which I had on my desk). This time, everything went smooth. In this device, as a power supply controller I used simple DC/DC converter MCP16301. As second stage I used linear regulator to supply radio module. Four, general purpose LEDs indicates any stage selected in firmware. Things that left are connectors for H-bridges (4 pieces) and for PWM (2 pieces). Depending on model type and its needs, different connectors will be used.
Below some photographs: